Hello, Blue Fern Studios fans!
I'm here today to share my November projects ... I love sharing what I've created with all these amazing products!
"Born to be Wild"
First up, I just HAD to scrap this new, funny photo of my granddaughter, Peyton!
She has such a "goofball" personality that we adore! So, I just had to find a way to incorporate it with my Blue Fern Autumn Anthology papers. I've used Parfumerie as my base and layered in Newsworthy, Gazebo and Calling Cards.
The title chippy was first primed and then lightly inked. When that was complete, I used our new Petal embossing powder. I went for all-out shine this time around.
You can also see some of the Essential Textures stamping in the upper left corner of this photo. It is fantastic to work with and adds such depth and interest.
I'm a big fan of framing my photos, so this new Double Swirl chipboard was an easy choice!
It was primed and then misted with our Imagine Ink mist in Leaf. I gave it some variegation with my ink pad. The Bits of Honey chipboard was left raw except for a touch of gesso for highlighting.
I love dimension and all these products work together to help achieve that goal.
Blue Fern Studios products used:
Paper:
Autumn Anthology Parfumerie
Autumn Anthology Newsworthy
Autumn Anthology Gazebo
Autumn Anthology Calling Cards
Chipboard:
Born to Be Wild
Double Swirls - small
Bits of Honey
Stamps:
Essential Textures
Mists:
Persimmon
Fern
Embossing Powder:
Petal
___
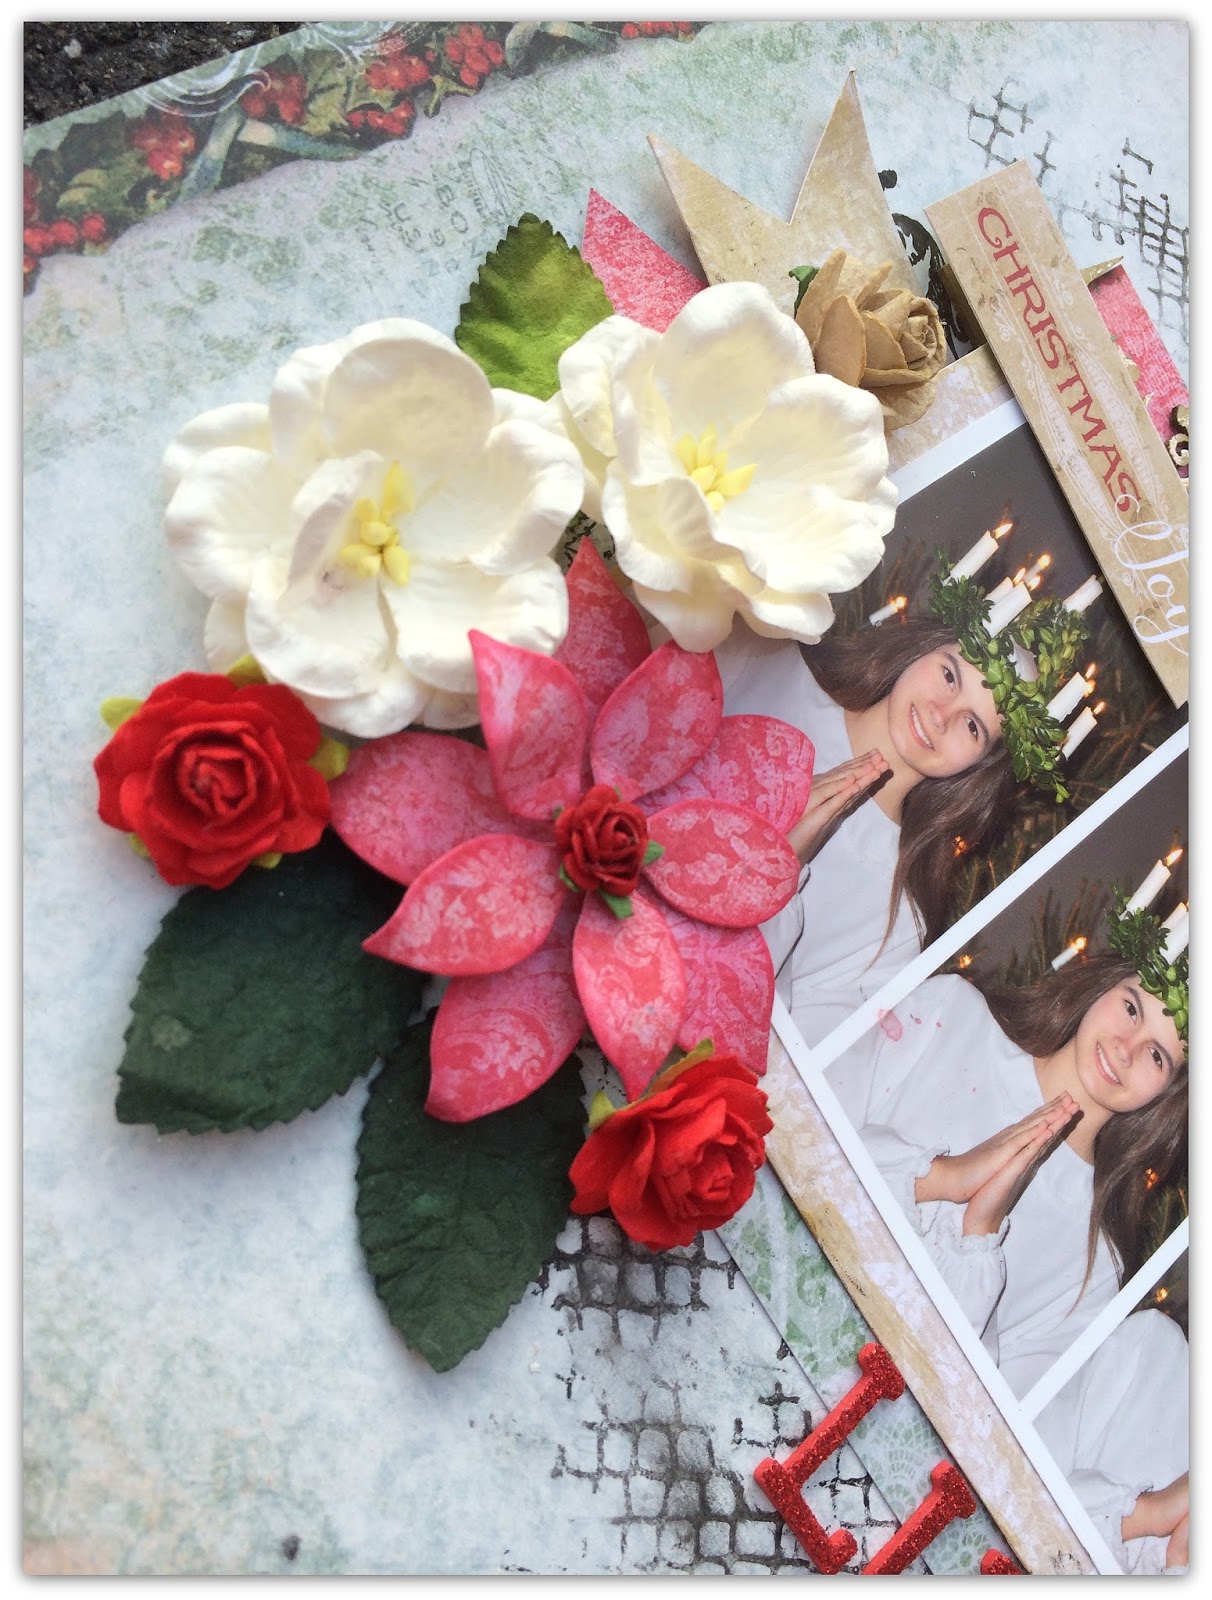
"The Most Wonderful .."
Next, I decided upon a celebration theme .. New Years Eve, 2014.
This wintery Christmas Vintage Auld Lang Syne was an obvious choice but so soothing to use! It's neutral background can go so many ways. I layered, tore and fussy cut using Wonderland and Greeting Cards as well.
Of course, I had to make it my own with my Imagine Inks in Winter Mint and Leaf. For shine, I used the new Pyrite Glitter.
My chipboard was all treated the same. I like the cohesiveness that gives a project. It was primed with white gesso and then dabbed thoroughly with Glossy Accents and Diamond Dust. Gives it a real wintery, frosty look .. like glistening snow. The new Blooming Curls chipboard is so unique. I've just been waiting to find the perfect project.
This is a good close-up of some of the stamping used to provide depth and interest.
Blue Fern Products Used:
Paper:
Christmas Vintage Auld Lang Syne
Christmas Vintage Wonderland
Christmas Vintage Greeting Cards
Chipboard:
Blooming Curls
Berry Stems
Mist:
Winter Mint
Leaf
Stamps:
Forever
Glitter:
Pyrite
___
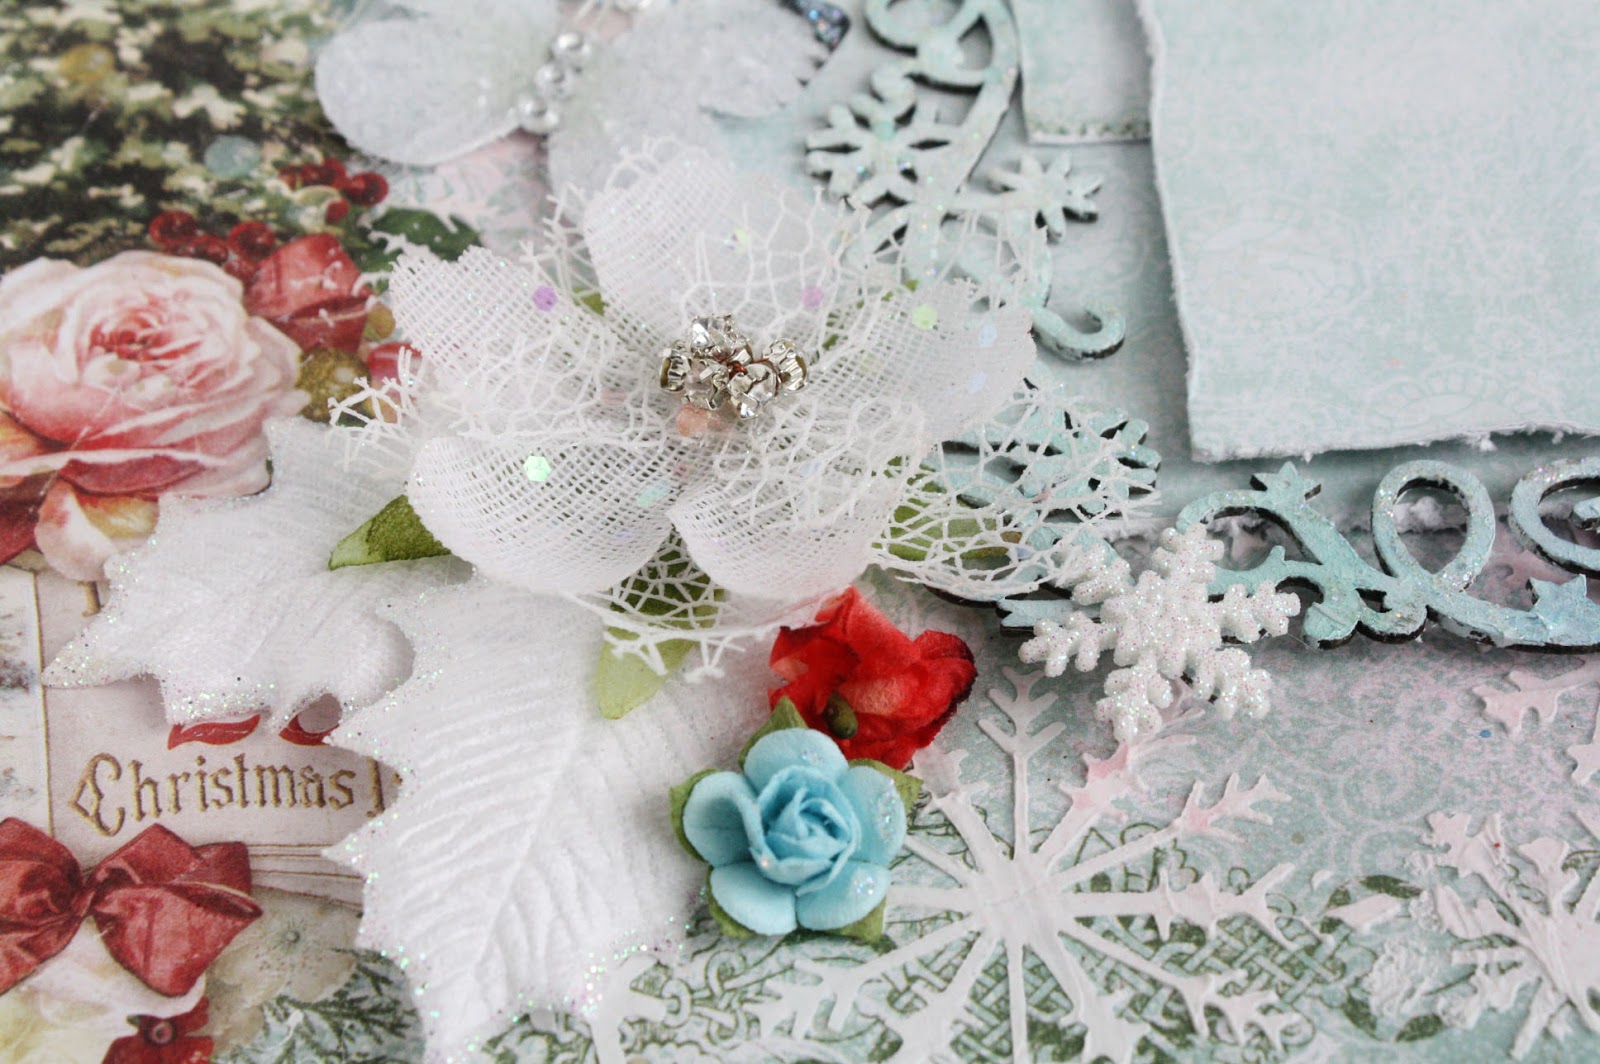
"Wish"
This one you have already seen when we first introduced the Christmas Vintage collection.
The Noel paper was treated with clear gesso and then super heavy gesso with a stencil. Imagine Ink in "Winter Mist" was misted and spread with water to enhance the stenciling. The "Carribean" glitter was then scattered over the background paper for lots of shine.
The chipboard pieces were all primed with gesso and then coated with the Imagine Ink in "Winter Mint" ( Snow Medley), "Leaf" (Eclectic Hearts), "Jingle Bells" (Garden Window) and "Cotton Candy" plus "Persimmon" (Wish, Wonder, Dream). The Snow Medley piece was enhanced with "Fern" embossing powder, the Wish with "Poinsettia" embossing powder and the Eclectic Hearts with "Lucky" embossing powder. The Garden Window was misted with "Jingle Bells," then dusted with "Pyrite" glitter.
Paper layers were cut and placed behind the Window. Flowers and bling were added as a final touch.
Here are some close-ups:
Blue Fern Studios products used:
Paper:
Vintage Christmas Noel
Vintage Christmas Magical
Vintage Christmas Greeting Cards
Chipboard:
Snow Medley
Wish Wonder Dream
Garden Window
Eclectic Hearts
Mists:
Leaf
Winter Mint
Persimmon
Cotton Candy
Jingle Bells
Embossing Powder:
Fern
Lucky
Poinsettia
Glitter:
Carribean
Pyrite
Thanks for visiting the Blog today.
We can't wait to see what YOU create with our products!